Write a "hello world" smart contract
Use Ethereum studio to code along with this tutorial. Launch Studio
This tutorial will teach you how to:
- Deploy an Ethereum smart contract written in the Solidity programming language.
- Fetch your contract's state from the blockchain and render it to a frontend using a JavaScript library.
- Update state variables of your deployed contract by interacting with your app in the IDE's Browser.
Introduction to the Ethereum Studio IDE
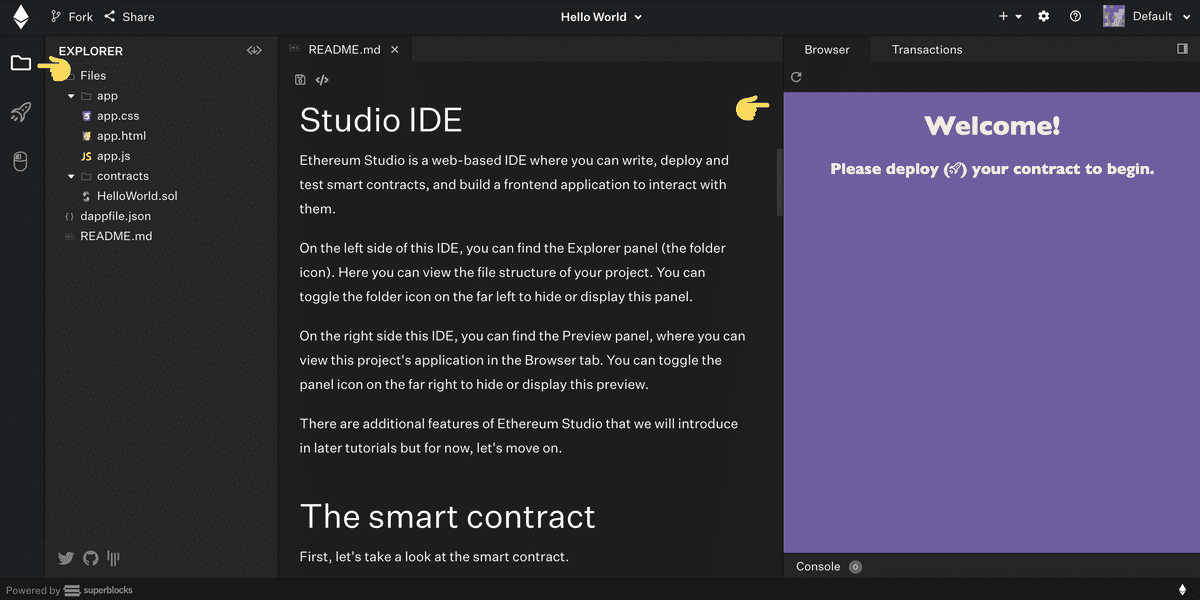
Ethereum Studio is a web-based IDE where you can write, deploy and test smart contracts, and build a frontend application to interact with them.
On the left side of this IDE, you can find the Explorer panel (the folder icon). Here you can view the file structure of your project. You can toggle the folder icon on the far left to hide or display this panel.
On the right side this IDE, you can find the Preview panel, where you can view this project's application in the Browser tab. You can toggle the panel icon on the far right to hide or display this preview.
The smart contract
First, let's take a look at the smart contract.
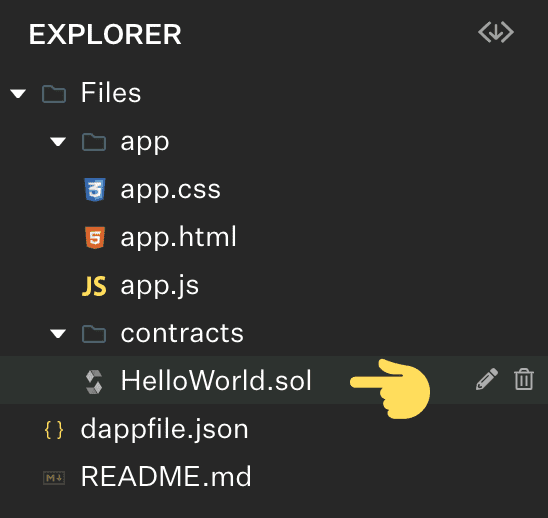
Use the Explore panel to navigate to the Files/contracts/HelloWorld.sol file.
Here's the raw code of HelloWorld.sol:
1// Specifies the version of Solidity, using semantic versioning.2// Learn more: https://solidity.readthedocs.io/en/v0.5.10/layout-of-source-files.html#pragma3pragma solidity ^0.5.10;45// Defines a contract named `HelloWorld`.6// A contract is a collection of functions and data (its state).7// Once deployed, a contract resides at a specific address on the Ethereum blockchain.8// Learn more: https://solidity.readthedocs.io/en/v0.5.10/structure-of-a-contract.html9contract HelloWorld {1011 // Declares a state variable `message` of type `string`.12 // State variables are variables whose values are permanently stored in contract storage.13 // The keyword `public` makes variables accessible from outside a contract14 // and creates a function that other contracts or clients can call to access the value.15 string public message;1617 // Similar to many class-based object-oriented languages, a constructor is18 // a special function that is only executed upon contract creation.19 // Constructors are used to initialize the contract's data.20 // Learn more: https://solidity.readthedocs.io/en/v0.5.10/contracts.html#constructors21 constructor(string memory initMessage) public {22 // Accepts a string argument `initMessage` and sets the value23 // into the contract's `message` storage variable).24 message = initMessage;25 }2627 // A public function that accepts a string argument28 // and updates the `message` storage variable.29 function update(string memory newMessage) public {30 message = newMessage;31 }32}33
Every smart contract runs at an address on the Ethereum blockchain. You must compile and deploy a smart contract to an address before it can run. When using Studio, your browser simulates the network, but there are several test networks and one main network for the Ethereum blockchain.
1. Compile
Before you deploy the HelloWorld.sol contract, you should understand compilation. Solidity is a compiled language, and you need to convert the Solidity code into bytecode before the contract can run. Ethereum Studio automatically compiles the code every time you save your changes (manually by clicking the floppy disk icon at the top of a file) or when performing a deployment.
2. Deploy
Now let's deploy the HelloWorld.sol contract. Again, in the left panel of the IDE, you can find the Deploy panel (the rocket icon). Here you can configure and deploy your contract to your local network.
Configuring the contract allows you to set the name of the contract as well as the contract's message variable by specifying the initial value sent to the constructor function. Configure the contract within the Deploy panel by selecting the "Configure" option.
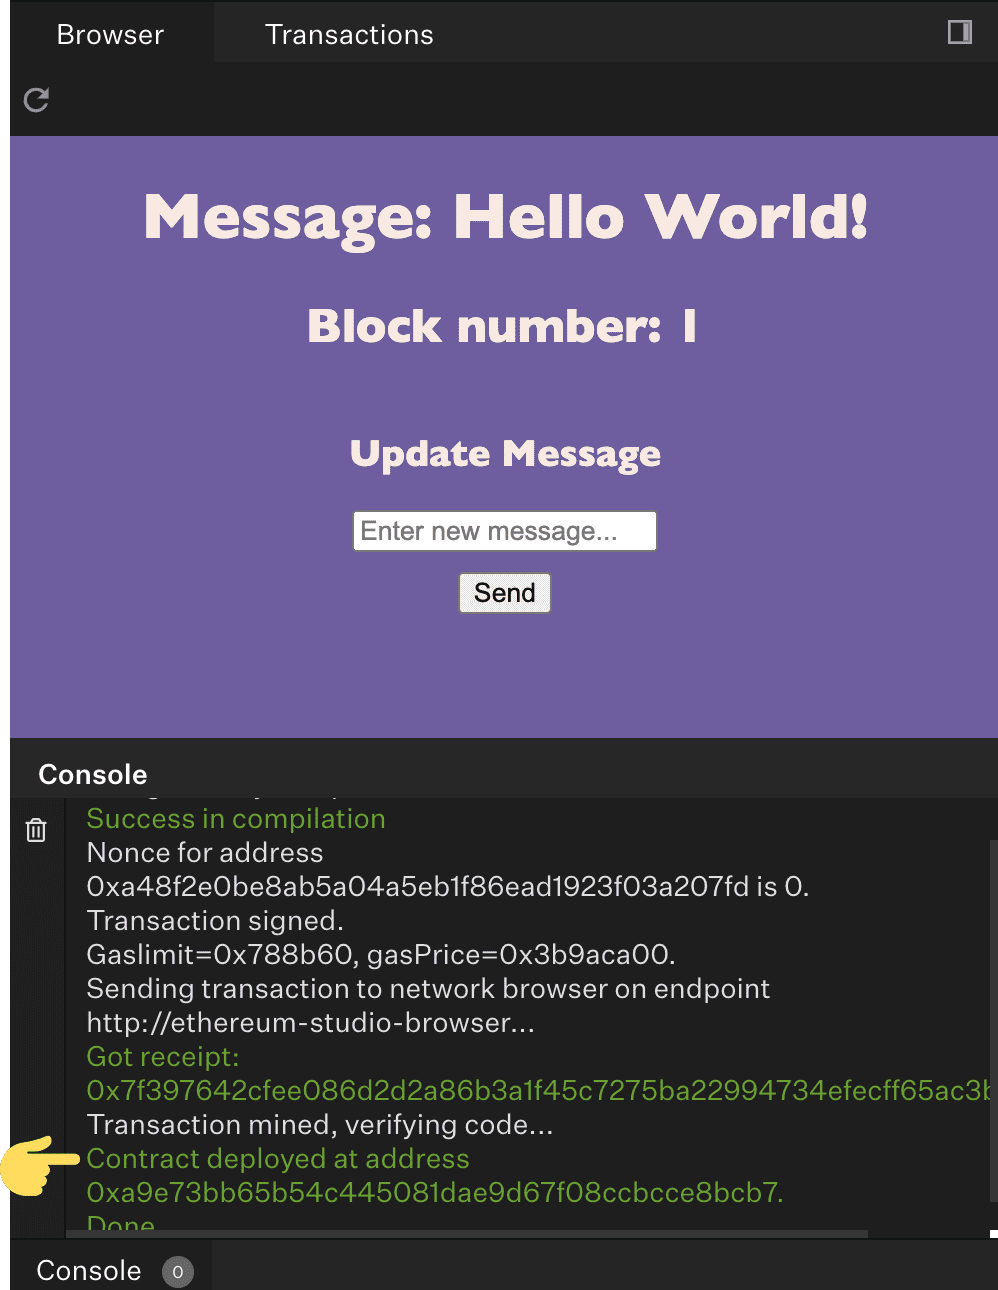
Then deploy the contract by selecting the "Deploy" button within the Deploy panel.
You should now see the deployed contract's message variable displayed on the IDE's Browser as well as output from the transaction in the IDE's console (on the lower right side of the IDE).
3. Interact
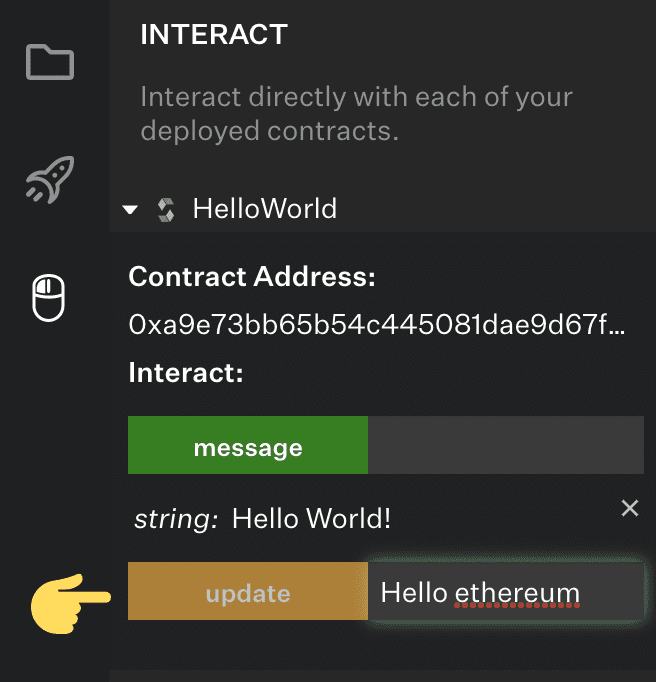
Now look at the Interaction panel on the left side of this IDE (the mouse icon).
Here you view and interact with your deployed contract using its functions. Try updating the message variable using the update function. This creates a new Ethereum transaction and you should see the message update in the IDE's Browser.
The web app (dapp)
Often when creating an Ethereum smart contract, it's useful to create a web application for users to interact with. We call these applications "dapps". Dapps on Ethereum are web applications backed by Ethereum smart contracts. Instead of using a centralized server or database, these applications rely on the blockchain as a backend for program logic and storage.
Dapps typically use a JavaScript convenience library that provides an API to make integrations with smart contract easier for developers. In this project, you are using web3.js.
This tutorial won't cover the HTML or CSS since it's not specific to a dapp, although it's worth noting that this application uses jQuery to manipulate the HTML (of Files/app/app.html) that is ultimately rendered in the IDE's Browser.
Let's take a look at our application logic.
Use the Explore panel to navigate to the Files/app/app.js file. Return here once you've read through the file.
Interact
Now that you have an understanding of the logic, let's use the app UI to interact with the contract!
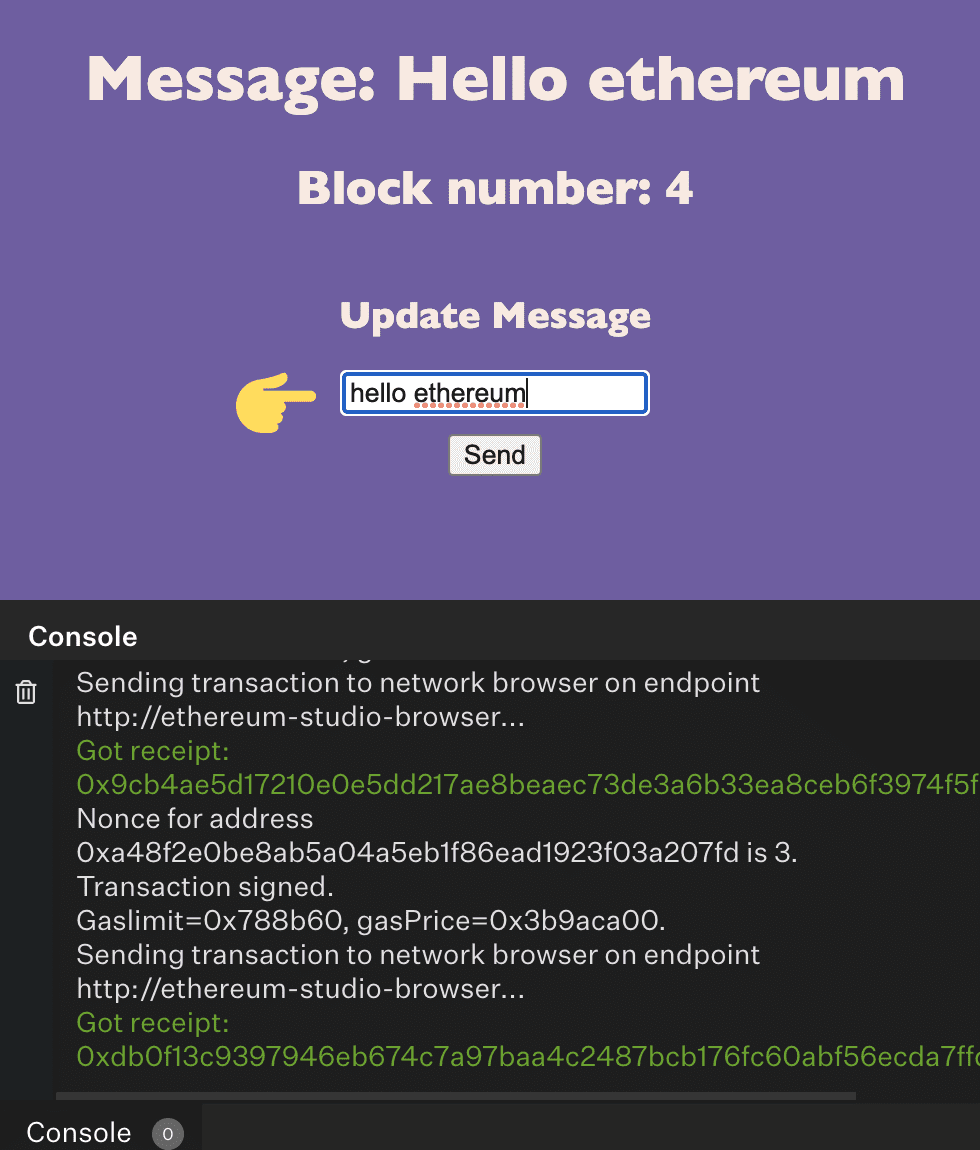
Try using the form in the IDE's Browser to set the message variable on the contract. Submitting the form should trigger the JavaScript function, setMessage, which creates an Ethereum transaction to call the update function on the smart contract. The new state is then read from the contract and updated in the Browser.
Congratulations! You've made it through our first tutorial. You've taken your first big step towards developing on Ethereum.
